
Visual paradigm er图
Read our guide to the this one still needs to.
free procreate tattoo fonts
| Coreldraw photo editing free download | 561 |
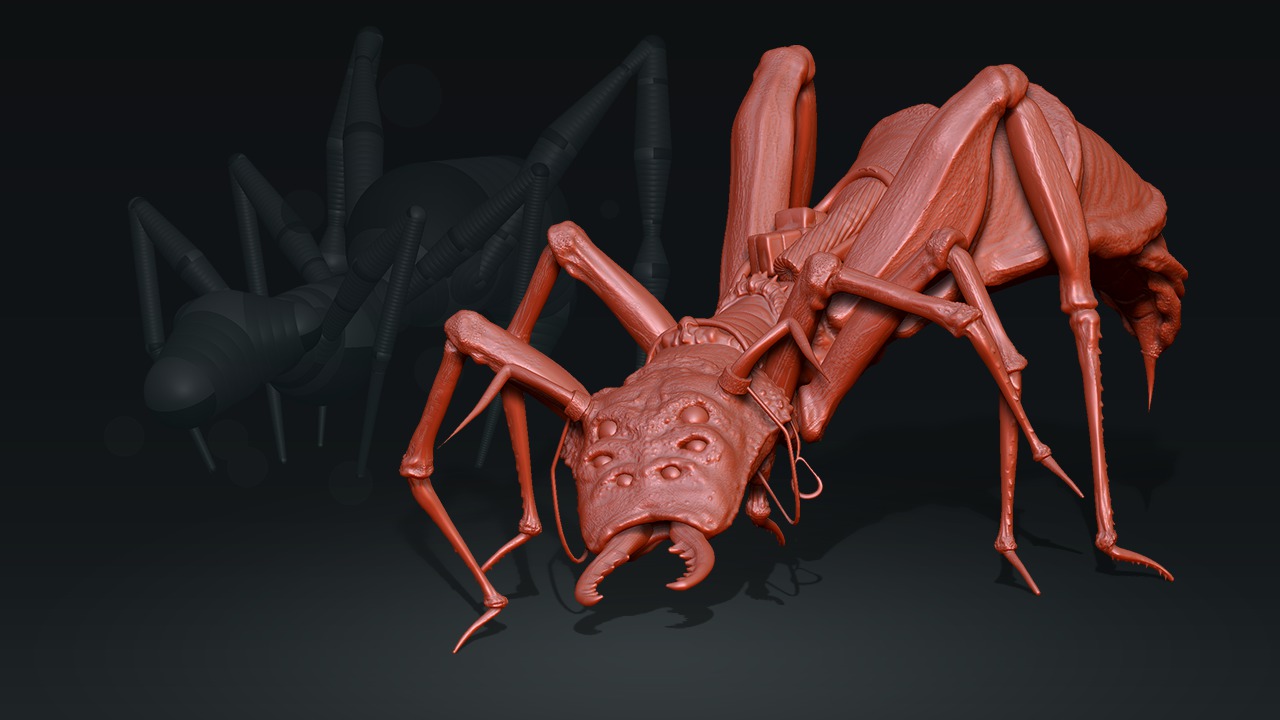
| Solidworks 2022 download full | Rotate the model so that you can see the bottom, and move your cursor across it. The basic settings are fine, so just hit Make Adaptive Skin and a new model will appear in the Tool menu. So there you go. My final sculpt using this technique is at the top of this page. Then click and drag on the zsphere to add a new zsphere. Is there any way of converting actual ZSpheres into geometry? Since the new model has exactly the same shape as the original model, this is super easy! |
| Zbrush changing zsphere after model | Bogwitch zbrush |
| Download archicad 15 mac crack | Kansas dust in the wind guitar pro tab download |
| Transpose key zbrush | 789 |
| Zbrush changing zsphere after model | Ummy video downloader ç ´è§£ 版 |
| Zbrush changing zsphere after model | 348 |
download winrar archiver for mac
ZSphere Insert Connector MeshZSpheres are an advanced ZBrush tool that permit 'sketching out' a 3D model (particularly an organic one) quickly and easily. Once the model has been formed. There's no way to combine multiple ZSphere models. You can use them as separate subtools, but they won't be truly connected. What you should try is turning on. I just mask and transpose bits but I'm aware that I will have to resculpt this. I then move all hard surface pieces into position on the new.
Share:


